

Starting a new week for members of the Side Hustle Bootcamp features a new task, a new project another opportunity to facilitate the process of growth and professional advancement. For our team, Side Hustle Customer Relationship Management Group 2, our task demanded us to create a chatbot with tidio.com to automatically answer the FAQ created in the last week’s task. Our last week task involved us in creating an FAQ for Air Peace after analyzing and understanding their customer service and customer experience. Following the creation of the chat-bot we have to collaborate with Front end developers intern so they could help us mount and test the chatbot on the Frontend UI. Come with me as we see how our team was able to go through this week's task successfully.
The first step was to know more on tidio.com and create an account for the team. Tidio is an all in one powerful customer service. It provides a live chat features on your website so it makes your business available 24/7. It also features AI chatbots that engages your customers in real time so a business can sell more. Tidio is a great tool that can help businesses in providing exceptional customer service. It automatically answers FAQs that customers input in almost immediately with the help of the AI as configured by an operator. So there is no need to delay customers, customers can make quicker decisions and resolve any issues which in turn helps to generate more leads. It is suitable for freelancers, small businesses and large corporations.
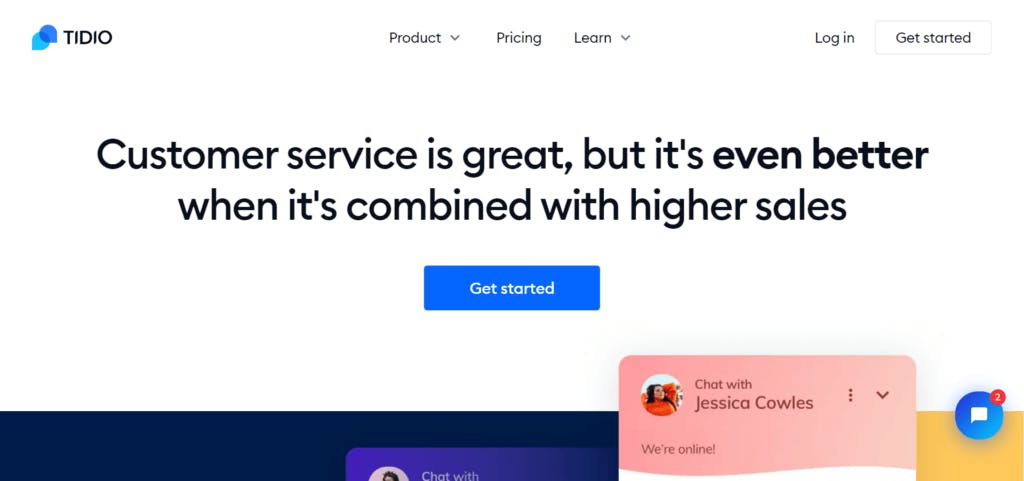 Tidio.com Website
We tasked ourselves to individual research on Tidio and with that able to understand and have applicable knowledge on tidio.com as a tool for customer service. Thus having enough information we were able to create an account and begin the creation of the chat-bot.
Creating our Air Peace FAQ chat bot on tidio required us to create a bot from scratch. To do this, we headed to the Chatbots section on Tidio to create our FAQ bot. Firstly we chose a trigger. This is the node that begins the path of the bot. The trigger is the first blue node at the top; it tells your bot to start and send an automated message, triggers are subscribers' actions or keywords sent in their messages. After setting our triggers, next is to add questions. Using the Decision (Quick Replies) actions, we display the questions we wish to address. It was edited to fit our purpose. The first thing was to type the message visitors see as soon as then click the chat bot. Then, to add questions the bot will send an answer to automatically.
The Final step is to add answers. This is done by connecting the Decision (Quick Replies) action to 'send a chat message' action. Once connected, we wrote the answers to the questions inside each of the nodes.
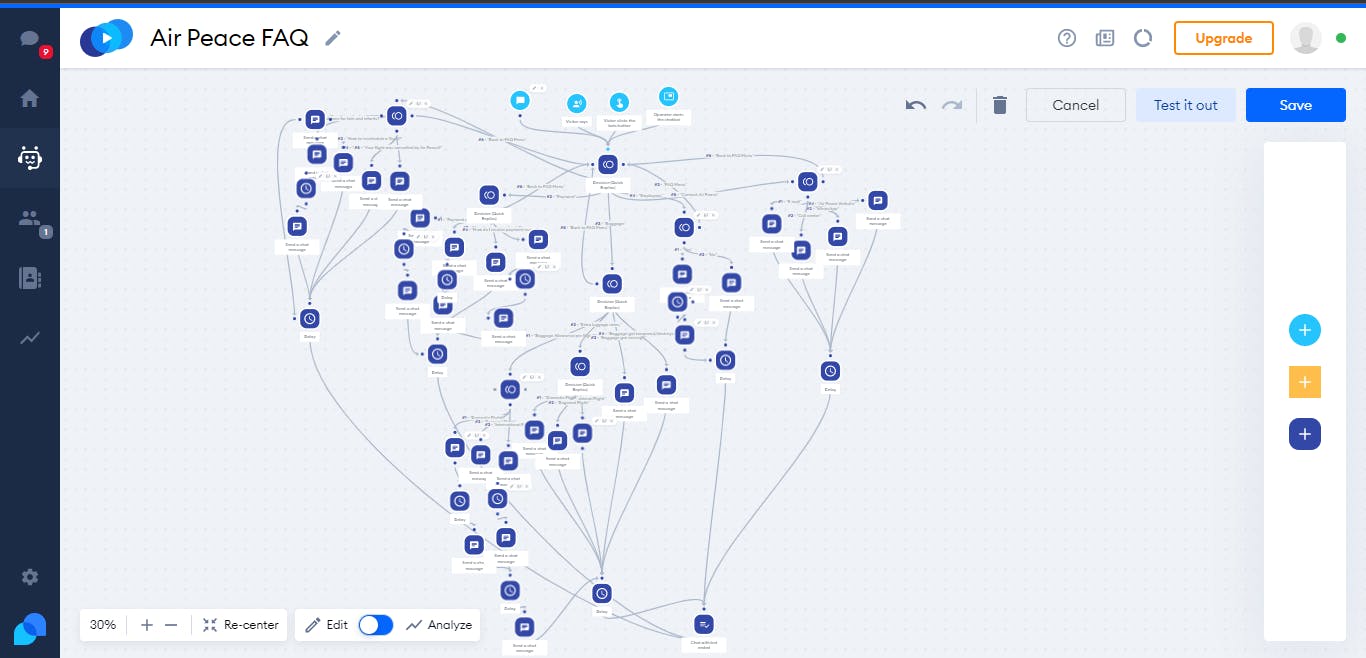 The backstage of the making of the bot
We then went on to set the colours and the graphics design of the chat bot. The Chatbots was also design to request for visitors' email address so the company can send newsletter, do a proper follow up and send important information to visitors to ensure customer retention. The visitors can also rate answers to the questions, whether it was helpful or not, this serves as feedback.
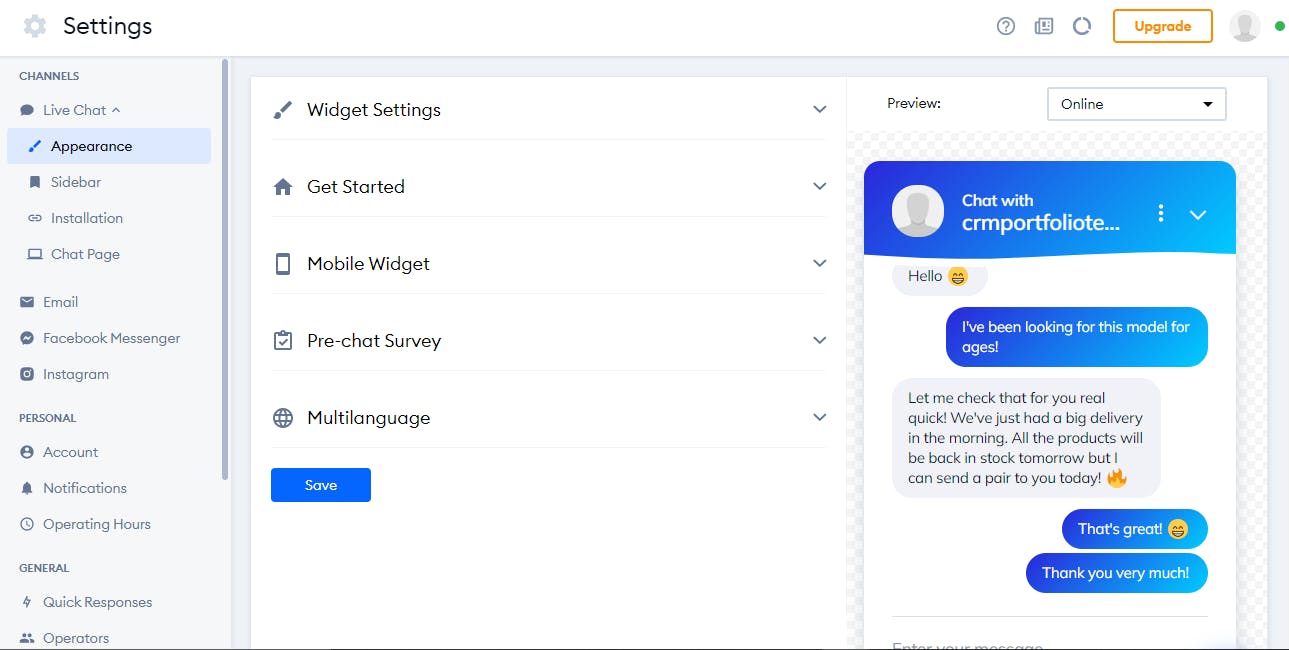 Tidio settings panel
The purpose of connecting with the Front End interns was for them to provide a site where they could help input our newly created FAQ bot. Doing this, we were able to successfully automate a Chatbot. Thus, completing this week's project.
Check out our bot.